Hey Everybody!
Sorry for such a late post today! My day was interrupted by an unexpected trip to town, but better late than never!
So, this week for the Handmade Holiday, I'm gonna share one of our family favorite handmade toys. We call them: "Woodles"
This set Annie made as a custom order for a lady who saw them in an old handmade Christmas blog post of ours, where Annie made a set for Michael. The kids quickly took the opportunity to swipe her patterns and make copies for themselves. They then traced them onto wood and persuaded their older brother to cut them out.
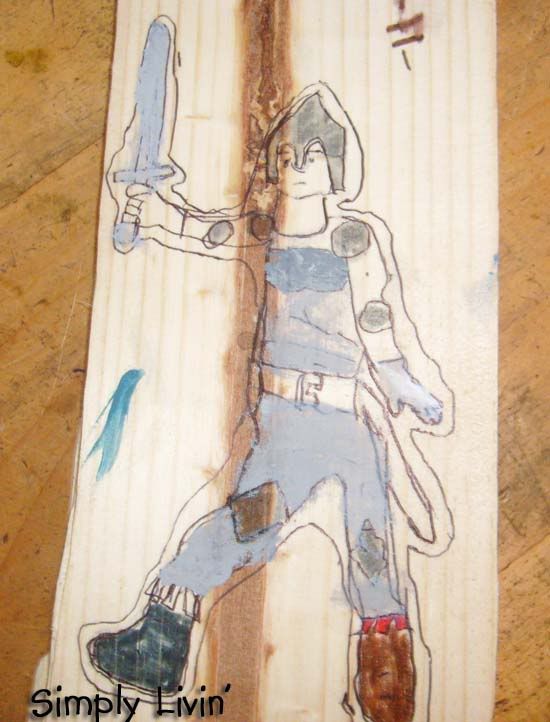
Johnny's version of Annie's knight.
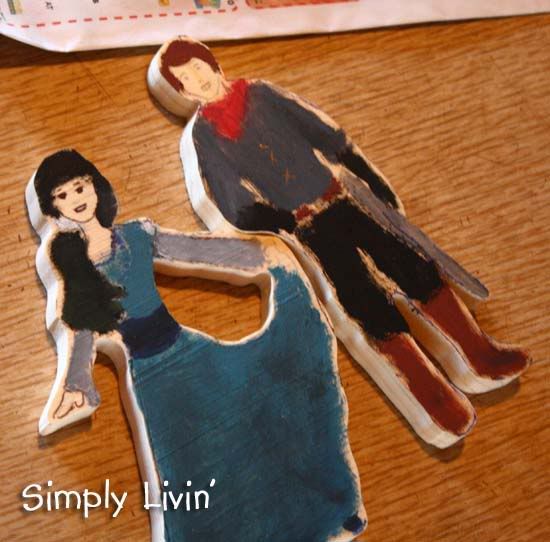
Lizzy's version of Annie's princess.
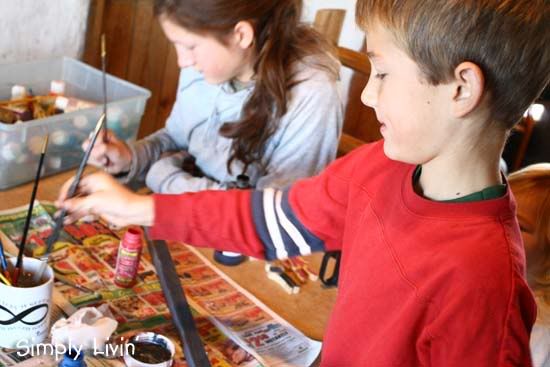
The kids have a new-found love for painting, after watching their older sisters paint the sets that we have available in our shop.
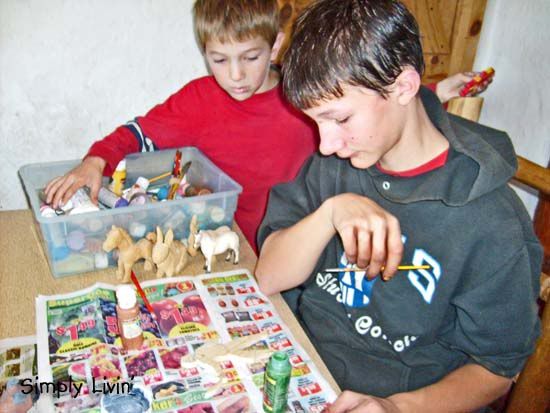
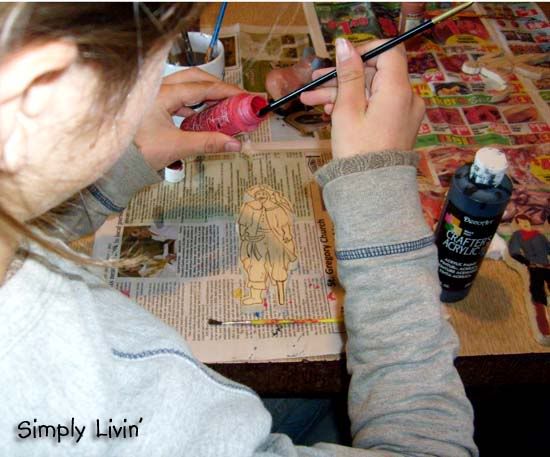
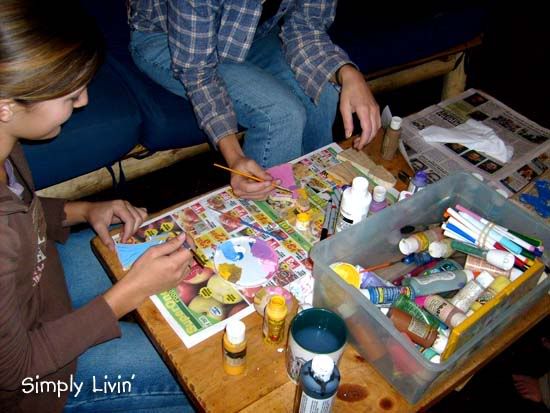
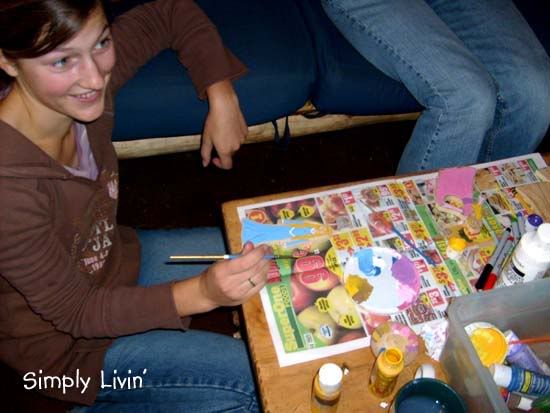
Lizzy painting Annie's peg-legged pirate.
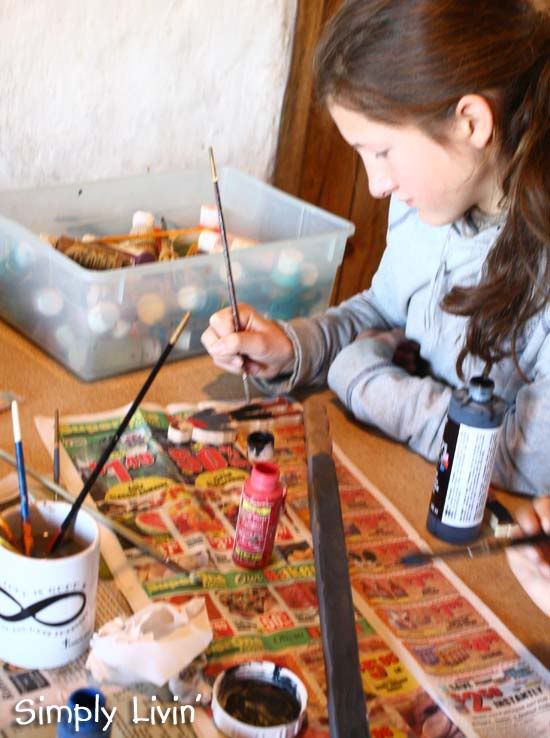
[A big, loving thank you to Grandma and Grandpa for the painting supplies! :)]
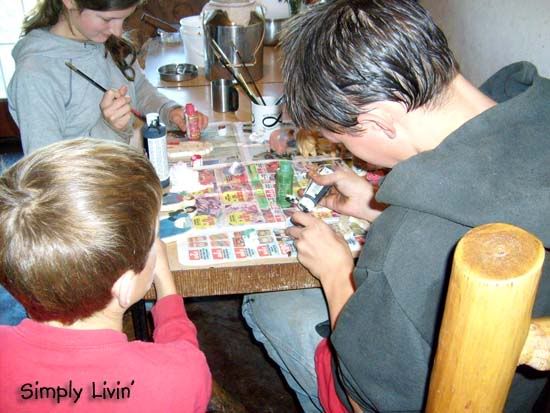
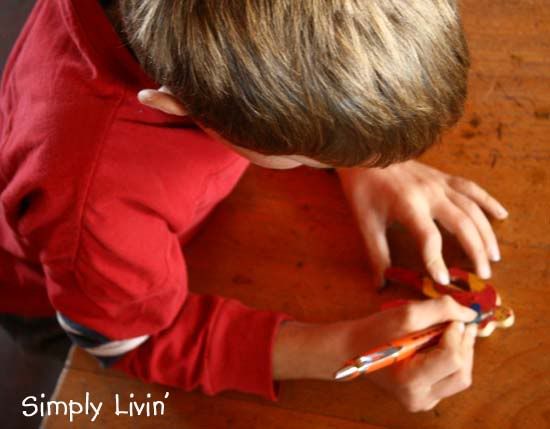
Johnny got so into it, he was repainting some of their older 'woodles'. 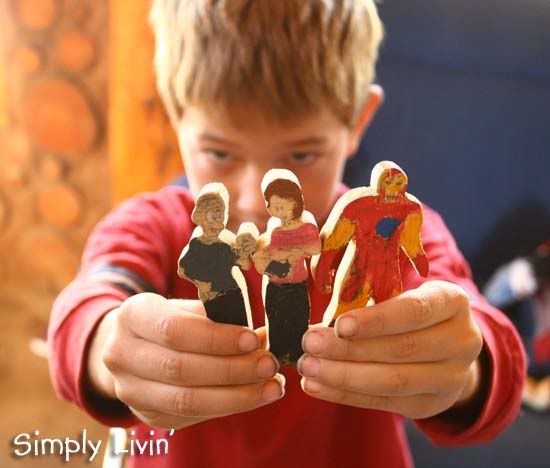
(Oh my goodness doesn't our little Johnny look 'old' in this picture? As in, 'grown up' old! lol.) 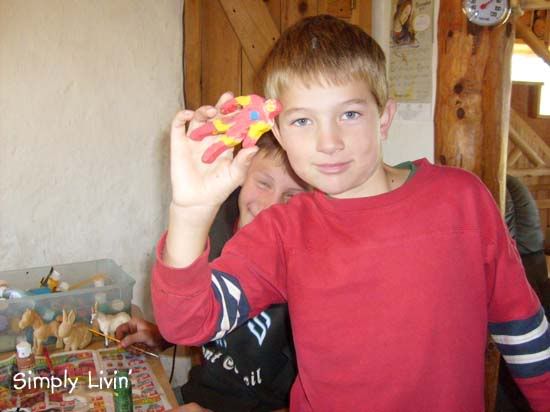
Even Donna got in on the fun! Big brother Stephen routered stick figures of him and Donna holding hands on a board and gave it to her to paint. :)
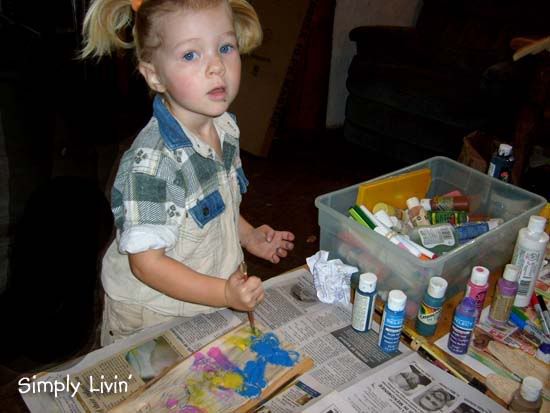
(Haha! Pigtail FAIL! But still cute anyway. ;)
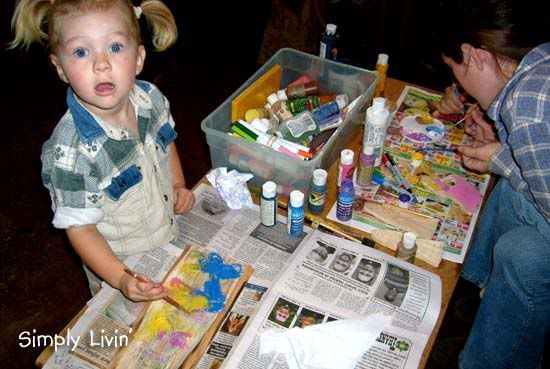
The girls finishing up painting the sets.
So, to make these, you need to start with good pictures of the characters you want to recreate. They need to be full sized and fairly simple. The kids glean them from books occasionally, but most often raid the artistic abilities of their older siblings. ;) Trace your pictures using carbon paper onto a nice piece of planed wood. 2 quarter inch is a good thickness. You want to avoid any knots, as they will be weak areas.
Cut out your figure using a scroll or jigsaw. Either hand or electric works, but obviously the electric is much faster. This is always 14yr. Michael's job, because he's very good at it! If you have a belt sander, you can use it to flatten their feet so they can stand up. Use a hand sander to take off the edges and round the corners. Now paint using either acrylic or water based paints. (If the toy is intended for children, make sure the paint is AP certified non toxic!) If you are going to have a back, turn the character over and draw it now (has to be done after it's cut out to match up well) and paint. Go over details with a fine tipped pen.Finish with a beeswax finish for extra shine and smoothness! I used our own beeswax on our sets (score!). A good recipe can be found HERE.
These are great for children to make because they love the crafting as much as the finished product and they will actually play with these toys... a lot!
Happy Handmade Holiday! Have fun crafting. :)


Wow, Mary, those are really fantastic! Those look every bit as nice as ones I've seen for sale in expensive catalogs like Hearthsong! I also like it that you finish with natural beeswax - that is just really cool. :-)
ReplyDeleteWay to go!!
Love in Christ,
Vicki
Wow! pretty cool! ;)
ReplyDeleteLike the pics the most :D
Do you do requests? Could you throw in a couple of pictures of your log furniture? I always like to look at different types. Thanks
ReplyDeletehttp://ahunkahunkaburninlove.blogspot.com/
Hi, this blog is really amazing and provide me answers to all my questions. This is really informative and I will for sure refer my friends the same. Thanks.
ReplyDeletei have never tried needle felting, please use this and .. it looks really fun. i like your little yellow toy.. so cute! ;)
ReplyDeletebuy and sell
This comment has been removed by a blog administrator.
ReplyDelete