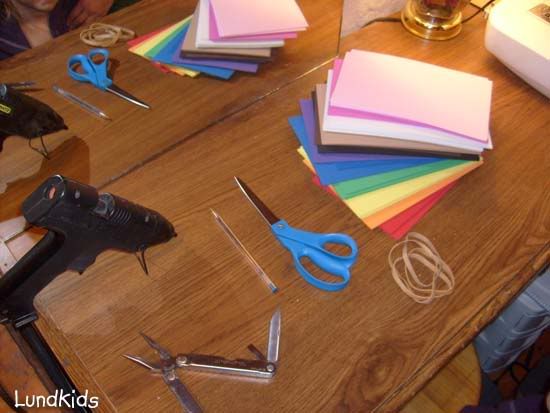
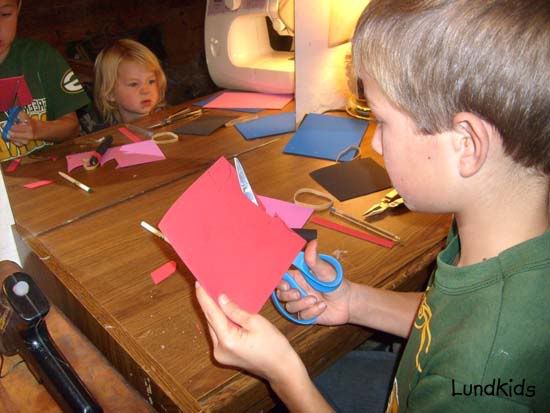
(Try not to be too distracted by the mirror on the desk... We only have one of everything! :)
We used two colors of foam for each bullet. Have the kids pick their two colors.
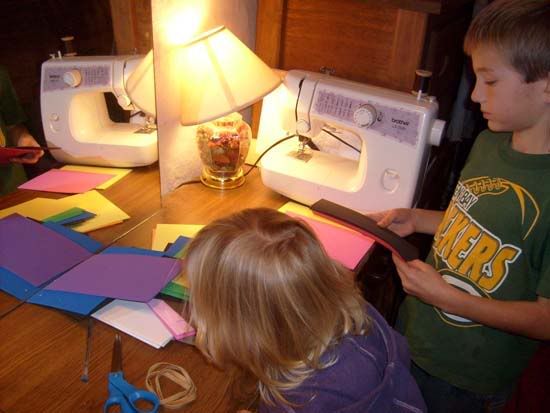
Fold the main color (what will be the base) in half lengthwise and cut on the fold. (The other half can be used for another bullet base.)
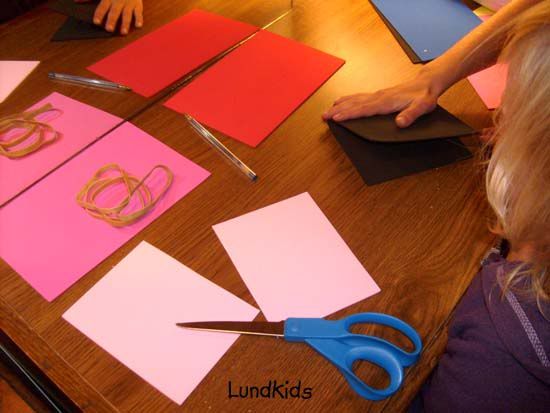
Lay the pen on the cut edge (it should be the longer of the two edges).
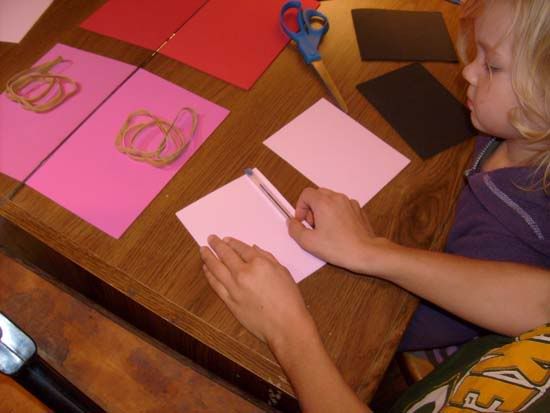
And tightly roll up the pen in the foam. This can be difficult to get tight, so you may to help the child out here.
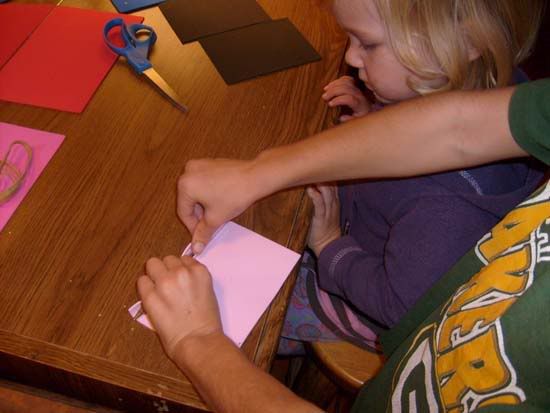
Stop rolling an inch from the end. Lay a thin strip of hot glue along the whole edge (closer to the fold will keep it from squirting out the edges).
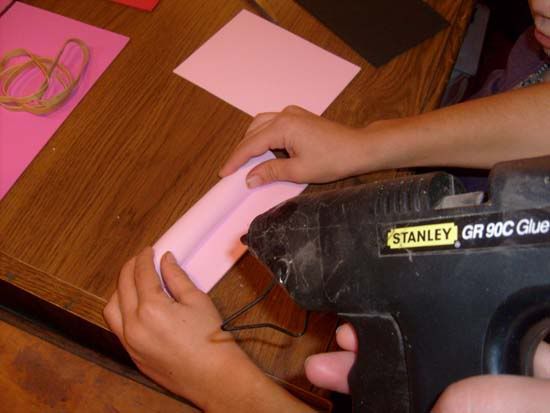
Hold it shut for 30 seconds or until it holds.
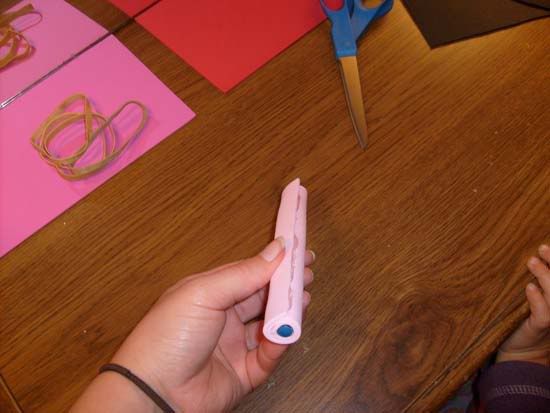
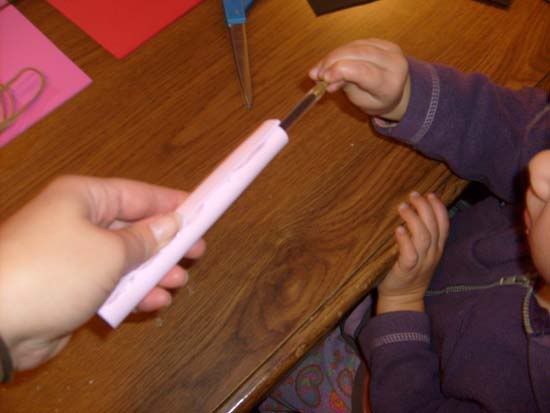
You can have a little person pull out the pen. :)
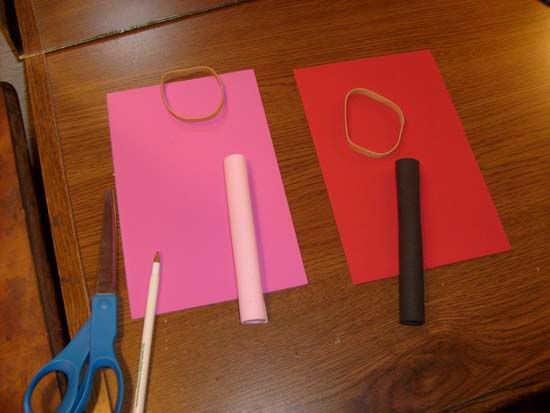
Now, here we have our main color rolled into tubes and our second color ready to make the fins and tips. We also have a rubber band for each.
Now you're going to make a horizontal slit about a half inch from the top with your knife. Stick it down hard enough that it goes all the way through so you can see a little mark on the other side. Turn it over and make a second slit on that mark.
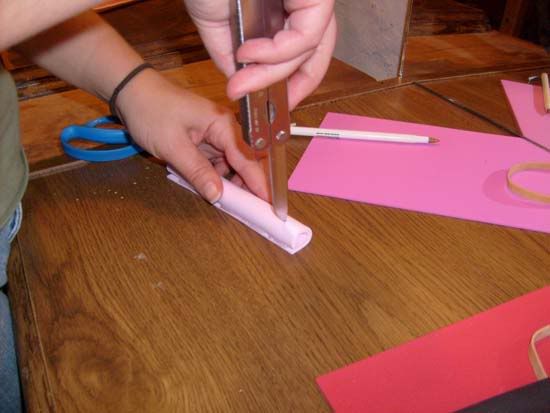
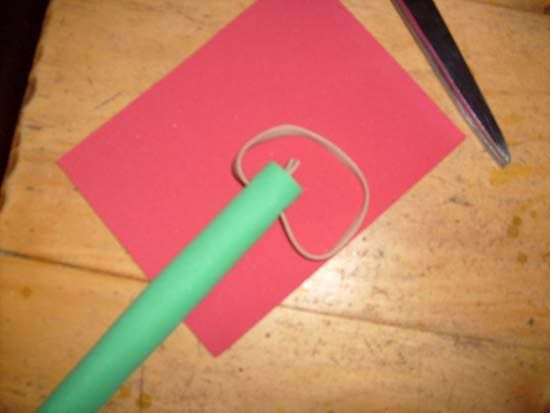
Cut your rubber band open. Using the flat head screw driver, force the ends of the rubber band through your slits. Try to push them in at an upwards angle.
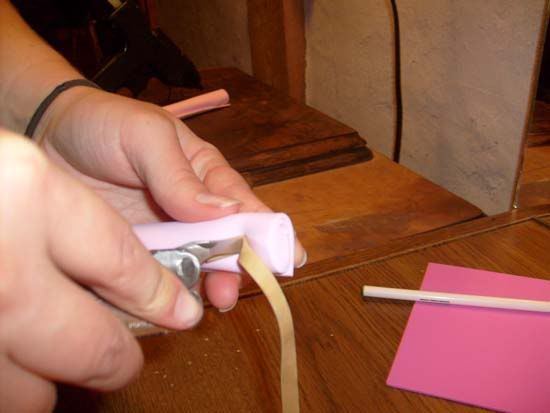
You can use your pliers to pull the ends out if you need too. (Sorry about the blurry pictures. Over eager--too close, 8yr photographer here!)
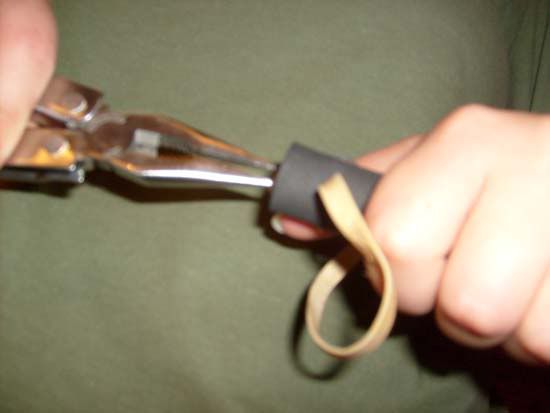
Tie the rubber band ends together like you would tie off a balloon (wrap the ends around your finger to make a loop and then stick the ends through). This can be tricky as the rubber band is going to be stretching all over the place on you. This is the one step that I have to do for all of the kids. :)
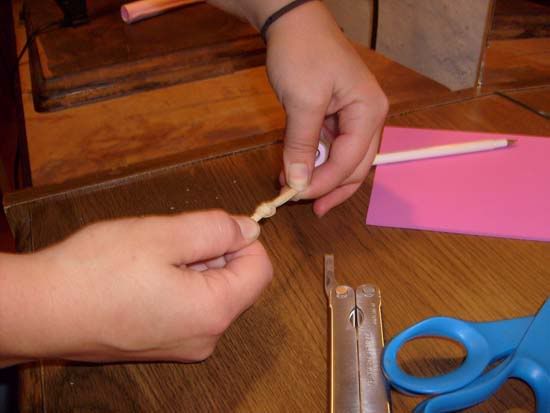
Should look like this.
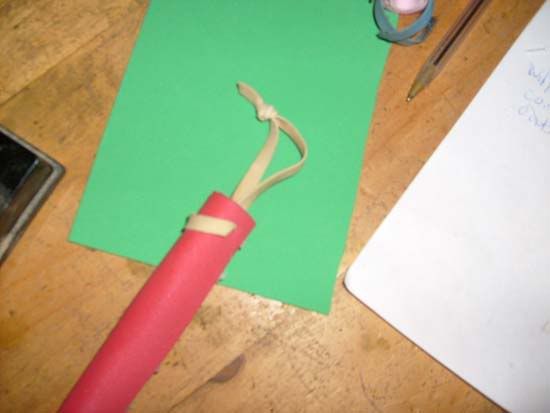
Pull the knot down into the tube and cut off the tails so they don't stick up (like they are in the picture!).
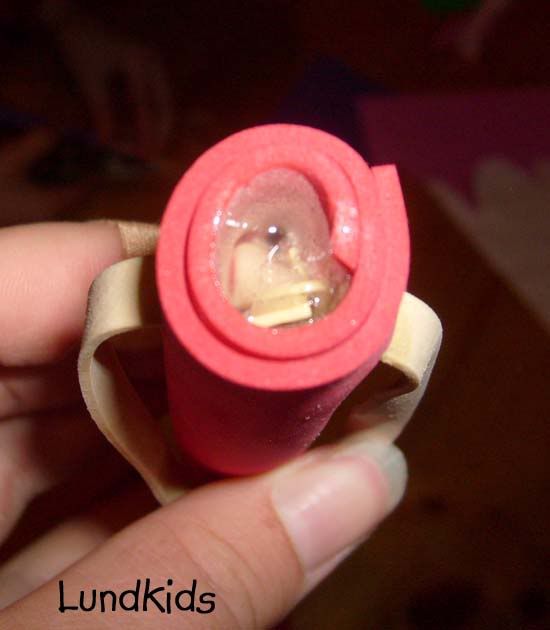
Cover the knot (pretty much fill the top) with hot glue.
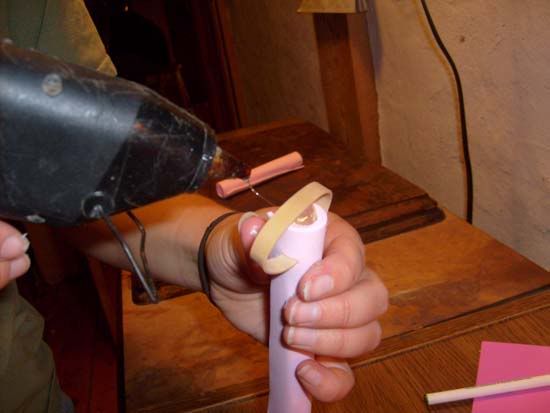
You don't want the glue to be sticking out though, as it could be rather painful. Hanging down inside there a ways is best.
Cut a thin strip from your second color of foam for the tip. (Note the sweet pea making faces at herself in the mirror! :)
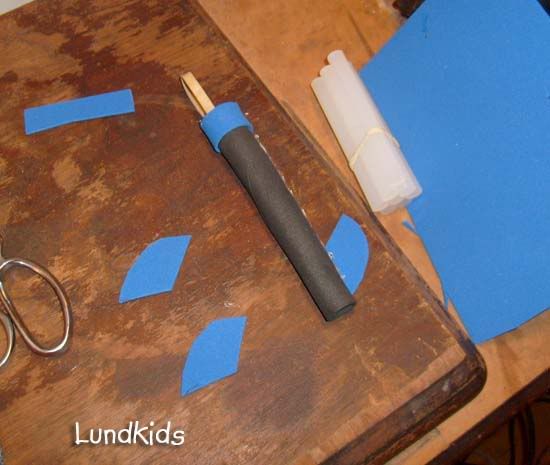
Next, lay the tube on your foam and draw a rough fin shape. Cut it out and use it as a template to cut two more.
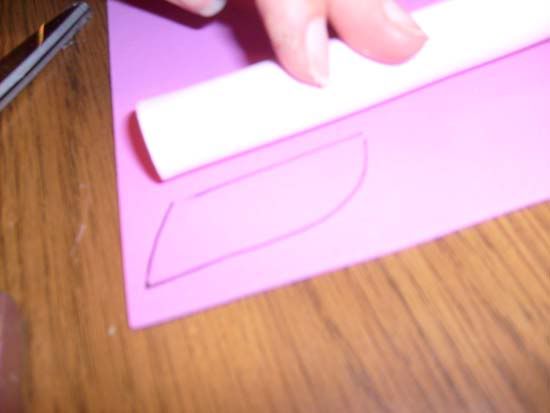
Doesn't need to be perfect. These things will fly with pretty much whatever shape fin the kids make for 'em.
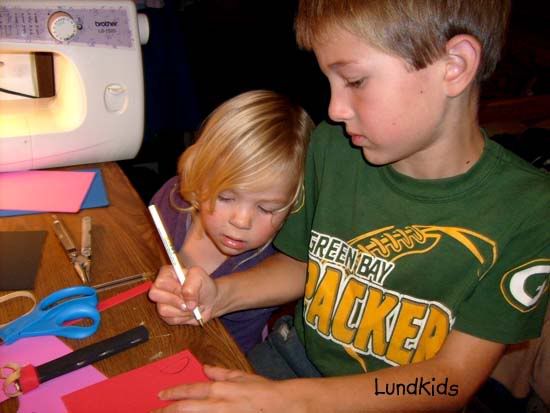
Glue your first fin on the seam of the tube (hold it straight up vertically, not like I'm doing here!).
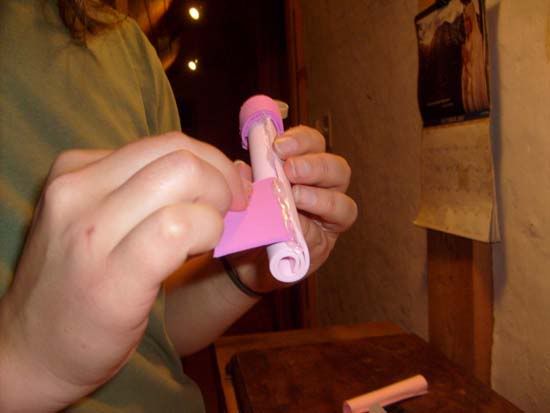
This is the easiest gluing job for the kids to do on their own. Still, they need a lot of supervision so they don't burn themselves or cover your desk in glue (yup, experience talking!).
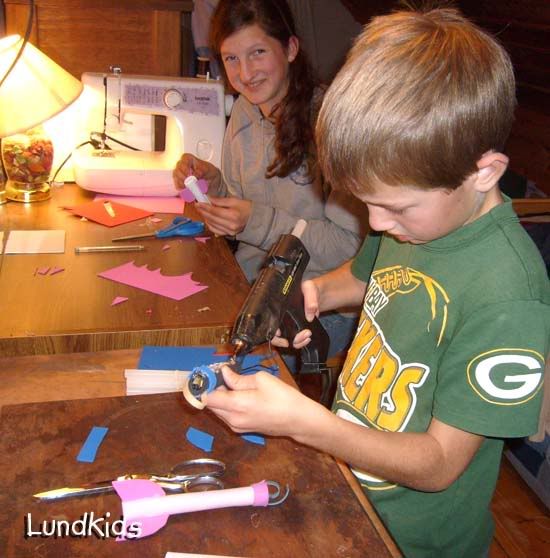
Lay a strip of glue for your second fin and stick it on for 30 seconds (be careful to hold it still--don't tip it in any direction or let it slide up or down... this can be difficult for antsy little boys to do!).
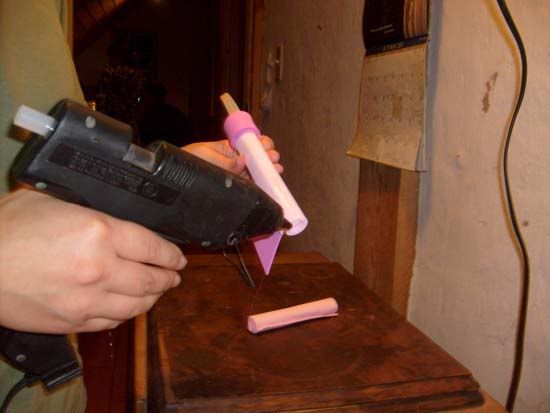
You want the 3 fins spaced evenly around the tube, but don't get picky, just eyeball it.
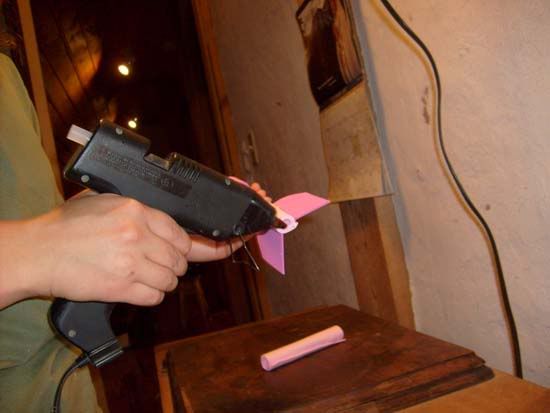
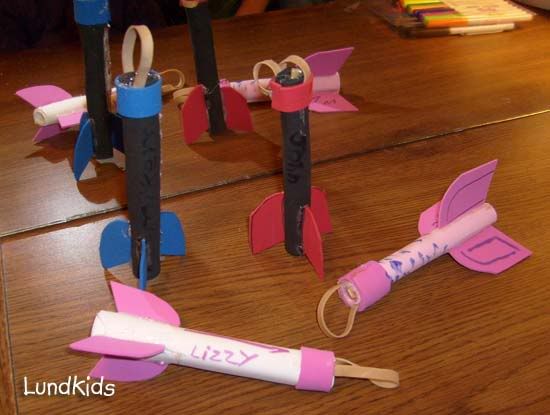
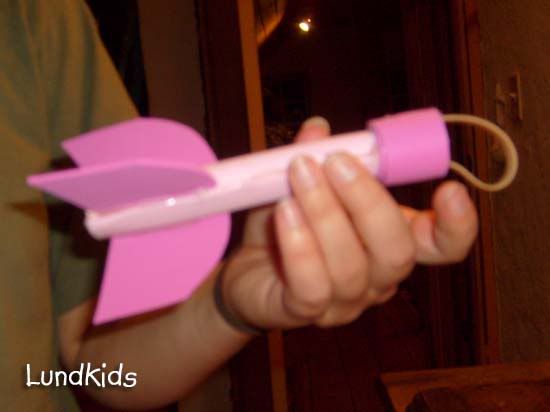
There you go! Finished and very blurry! :-P
When the glue is dry and no longer hot, you can let the real little ones at 'em with some markers or stickers to decorate.
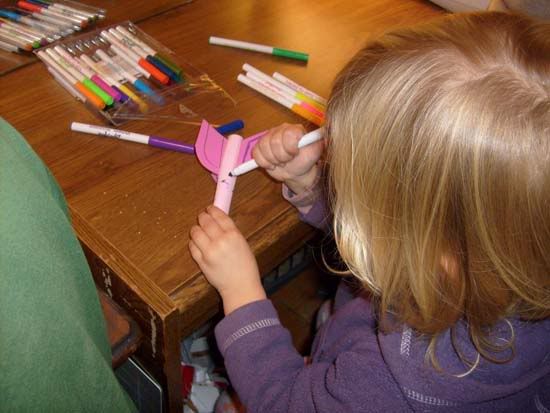
When the kids realized they could make these on their own, there was no stopping 'em!
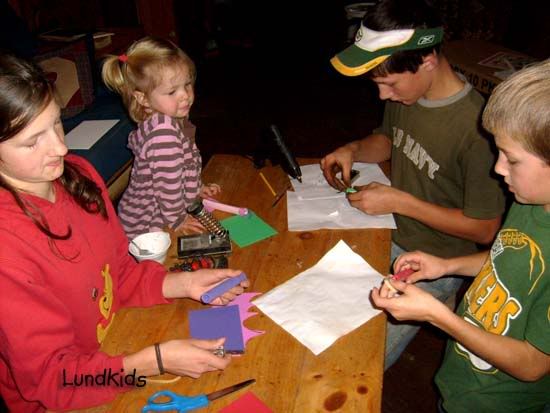
This is a very good interactive craft, as you need extra hands to help, but even youngsters are capable (as long as they don't burn themselves on the hot glue!).
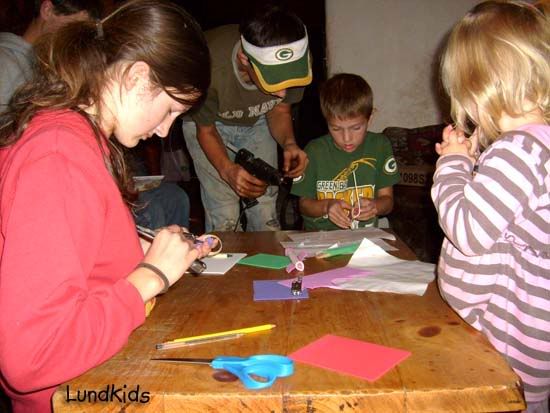
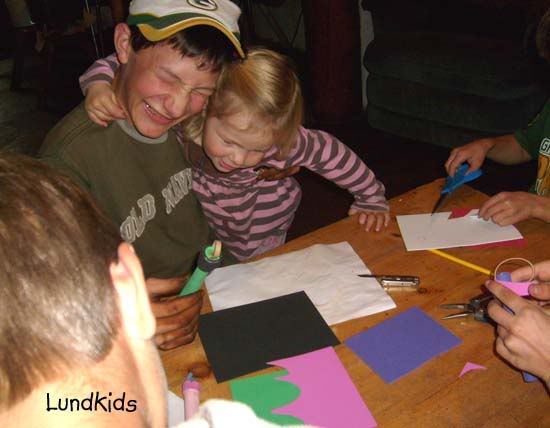
The atmosphere in the room is very pleasant when everyone is working and helping each other out... Donna totally picked up on it and started getting really sweet toward her big brother! :)
There you have it! Be creative, have fun, and happy handmade holidays! :)
Check over at Tonya's Plain and Joyful Living for the Handmade Holiday blog linkup every Mon.!


